As the title indicates this blog post will guide you though how you can run Node Red on Azure Web apps using the node-red docker container.
Node Red is IBM’s GUI based offering that makes it easy to wire APIs and devices together. It is great for IoT prototype, but it is also a great platform for many other scenarios where different APIs needs to be connected together. It has a lot of similarities with both Azure Functions and Azure Logic Apps, but it is in my opinion actually easier to work with as it is all based on node and JavaScript and the web based editor works quite well.
If you want to run node red in Azure you are not getting much help from Microsoft (not surprisingly as it is a competitors product). The official node-red documentation only explains how to run it on Azure using a VM, and to my knowledge the unofficial documentation that exists only explains how to run it in an Azure Web App without using container technology.
Personally I think using a container for the deployment makes the setup easier. It also allows you to run the same container locally as you do in the cloud. So let us explore that.
Currently containers can only run on the Linux version of Azure Web Apps, so first we need setup an Linux Web App. You can either do it through the portal or use the Deploy to Azure button from my github repo: https://github.com/sjkp/node-red-docker-azurewebapp/.
In the following I will explain the changes done to the official dockerfile, if you don’t care and just want node red to run, you can just deploy the container and the continue reading the section on how to secure your node-red instance.
Dockerfile
The dockerfile that is used is a slightly customized version of the official node-red-docker image https://github.com/node-red/node-red-docker. The customization that I have done to it, is to change the data directory from /data in the original template to /home/data in my Node-Red-Docker-AzureWebApp template. I have changed the folder to allow the data directory to be mounted in the Azure Web App file system, such that your changes to the node-red environment gets persisted outside the container. To my knowledge it is not possible with Azure web app to customize which paths that are mounted it defaults to the /home path. And in fact this path is only mounted if you change the Azure web app setting
WEBSITES_ENABLE_APP_SERVICE_STORAGE to true. Azure Web App is clearly designed for stateless containers.
No other changes are required to the image.
In the Azure Web App settings, we have to add another app setting, that will inform the Azure Web App environment about which port our container exposes, node-red per default uses port 1880, so we have to add an App setting named WEBSITE_PORT and set its value to 1880.
Securing node-red
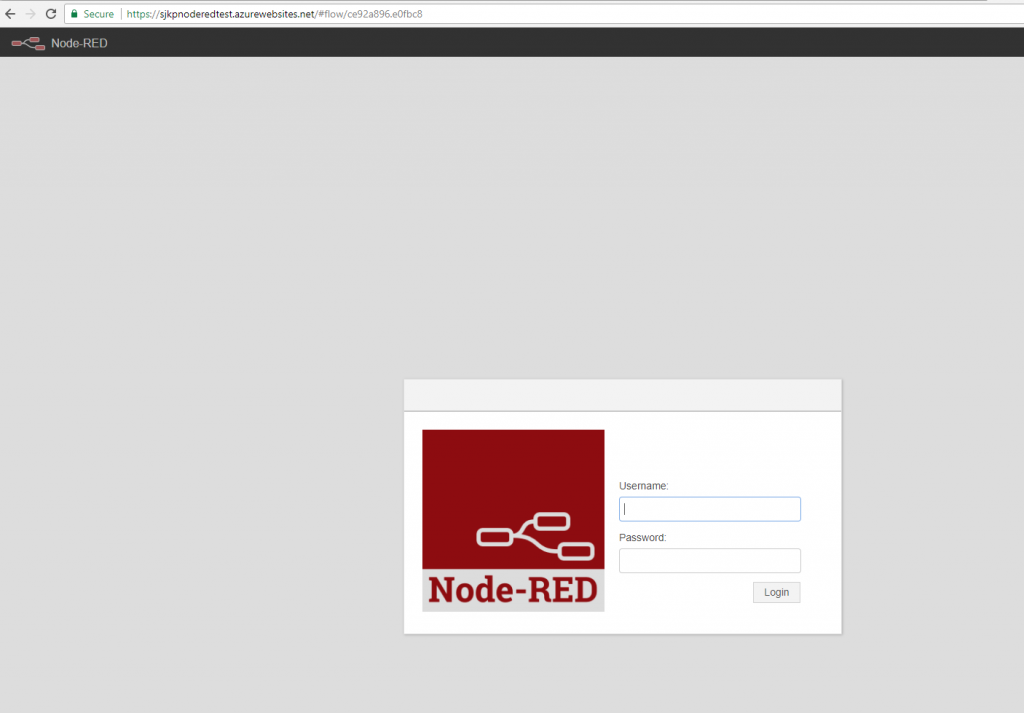
Node-red is meant to only be accessible from an internal network, so it does’t have any authentication enabled out of the box. Obviously, when running it in the cloud that is not going to work for very long. So we need to secure access to the administration interface right away.
Setting up a username and a password for accessing the administration interface is quite easy. We need to select a username and make a hash of the password we want to use.
To make the password hash you can use the node-red admin tools from a machine with node.js, they are installed using npm install -g node-red-admin.
Once the tools are installed you can run
node-red-admin hash-pw this command will ask you for a password that it will hash. Once you have the password hash, you should modify the settings.js file that is located in your azure web app under /home/data/settings.js. You can download/upload the file using ftp with the publishing credentials from the web app.
The section of the file where you setup authentication is
[js]
adminAuth: {
type: "credentials",
users: [{
username: "admin",
password: "$2a$08$xNig340htc4UILauxVNZOsT092hm19HdSJ3aZPjfkPNW5kBCszuSe",
permissions: "*"
}]
},
[/js]
While you are editing the settings.js file, I would recommend that you also uncomment and place the missing comma,
[js]
requireHttps: true,
[/js]
That way you will always use https and don’t accidentally send the password in clear text when you login.
Once you have updated settings.js you might have to restart the azure web app before node red picks up the changes to the file. Note that the restart can take a few minutes. So be patient if the authentication prompt doesn’t show up instantly.
This is the simplest form of authentication, if you are interested in knowing more, take a look at the official node red documentation. I plan on doing a follow up to this article where we use Azure AD for authentication.
Now you have a password protected node-red instance running on your azure web app. It is accessible over https with is a nice free feature we get from using Azure Web App as the hosting platform.