A colleague of mine asked me the other day if it was possible for him to access his Microsoft Dynamics CRM data directly from inside SharePoint by using the OData service that CRM exposes. Of course, this is possible the question is how to go around doing it. He was looking for a no-code solution that would work in an online scenario with SharePoint online and CRM online. His initial idea was to use SharePoint Business Connectivity Services, which from the 2013 version of SharePoint support connecting to OData sources. This is a very valid approach, but since I was looking into LightSwitch earlier this week, I wanted to see if LightSwitch could be used a as solution too.
Of course using LightSwitch is not a exactly a no-code solution, but it’s pretty close, and in addition we get the option to surface the CRM data outside of SharePoint too, for instance in a mobile app if we want to.
Connecting LightSwitch to CRM data services
Connecting a LightSwitch project to an OData source is a walk in the park. Just add a new data source of the type OData Service. In the endpoint use:
http://[server]/[organization]/XRMServices/2011/OrganizationData.svc
You have to exchange the [server] and [organization] with your server and organization, in my test I used a CRM 2013 instance (hosted in windows azure).
If your users have access to CRM and you only want to give them access to data that they already can see, you can use windows authentication.
In my proof-of-concept, it was a requirement that we connected to the data with a service account, so I selected “Other” and typed in domain\username and password.
Update, connecting to CRM online
Unfortunately, at the moment I haven’t found way to connect to CRM online’s OData endpoint, but I will post an update when I find a solution, to the microsoft live id signon problems.
When you press next, Visual Studio will connect to the OData endpoint and download the metadata information, since CRM have quite a lot of data exposed via OData, this might take a little while. Afterwards you can select the entries you want to work with.
I just selected the “AccountSet” and left the data source name
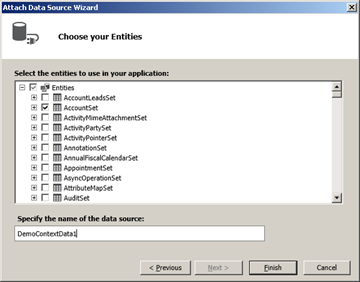
When you click “Finish” you will be presented with a list of warnings of data types that isn’t support. So far, I have not noticed any problems with just ignoring the warning.
Creating Screens
Once the data is accessible to your LightSwitch Server project it is time to create some Screens, to enable browsing of the data.
Adding screens are not any different from adding screens to any other LightSwitch project, so I will not go into details with that here. I just added a BrowseAccountSet, AddEditAccounSet and ViewAccountSet. In each screen you can, select which fields you want the user to be able to modify, as the account entity per default have quite a huge number of fields, I left pretty much all of it unmodified and it still worked except for one detail with the AccountID field.
The AccountID is the only per data model required field, but the screen designer maps it to a text field that the user have to fill out, since the AccountID must be a unique guid, this is not very user friendly. What I did was to change the ControlType of the field to Text (so it can’t be changed). In the data-model designer, I switched to the HTMLClient view and in the created method, I added the following code.

[js]
/// <reference path="../GeneratedArtifacts/viewModel.js" />
myapp.AccountSet.created = function (entity) {
// Write code here.
function s4() {
return Math.floor((1 + Math.random()) * 0x10000)
.toString(16)
.substring(1);
};
function guid() {
return s4() + s4() + ‘-‘ + s4() + ‘-‘ + s4() + ‘-‘ +
s4() + ‘-‘ + s4() + s4() + s4();
}
entity.AccountId = guid();
};
[/js]
This code just fills the AccountId with a randomly generated Guid, so that the client side validation doesn’t complain about the AccountId being empty.
With this little adjustment, I was able to create new CRM accounts directly in from my LightSwitch application and browse my existing accounts.
Publishing the Application to Windows Azure/SharePoint Site
The final step was to publish the application to either Windows Azure or SharePoint. Publishing the application to SharePoint require you to enable SharePoint for the project.
With SharePoint enabled you just right-click the BaseProject and click Publish.
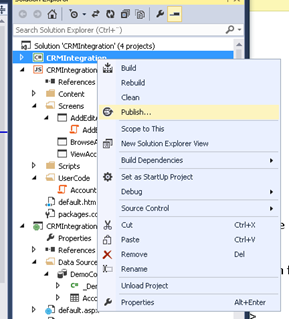
Then you will get the publishing wizard. The easiest way to get up and running is to select SharePoint AutoHosting, that way SharePoint will handle all provision of your App when it is installed inside of SharePoint, and since data doesn’t live in the LightSwitch application, it should be sufficient for most uses.
It is not support from the GUI to have the same application hosted both as a SharePoint application and as a stand-alone application in Windows Azure. But if you remove the SharePoint integration or make a separate project for your Azure Hosting, you can from the publishing wizard under Application type chose “Complete Application” and in the next step “Application Server Configuration” select “Windows Azure” and from here you can deploy it directly to a windows azure website that you must have created beforehand.
One thing I noticed with the windows azure hosting is that if you want to be able to browse the client on your https://[your-domain].azurewebsites.net without adding /HTMLClient, you have to add a defaultDocument value for default.aspx to the web.config in the server project. So it looks something like.
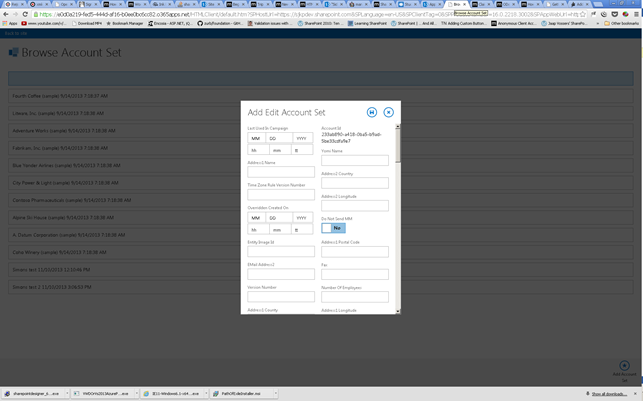
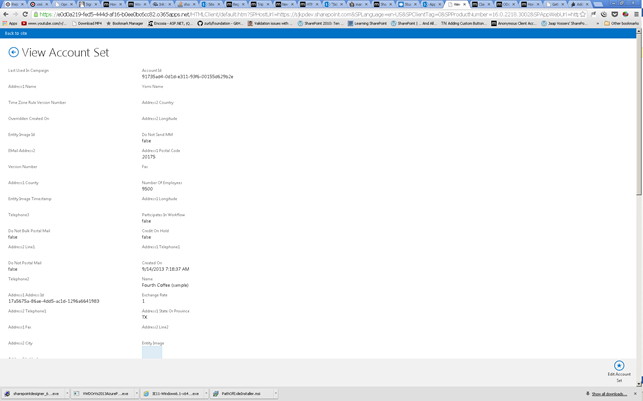
Finally, here are a few screenshots of the very standard looking LightSwitch app, inside of SharePoint.
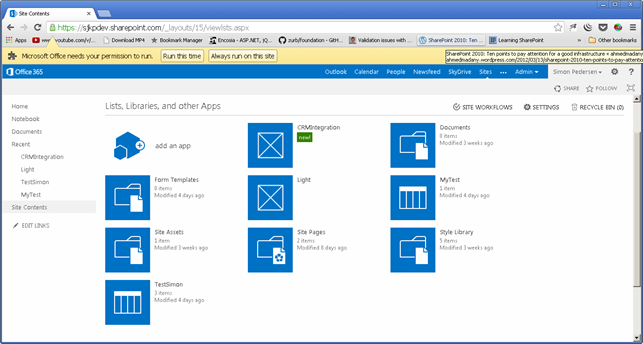
The app installed inside SharePoint
Account Details
Edit/New Account